For today we will be trying something new - by featuring a very simple , easy-to-follow, and illustrated tutorial on making a scrapbook layout from our DT member, Lidiya Baltova-Kalichuk.
Get your materials ready, as this promises to be one fun lesson to follow!
Apples layout
Supplies:
Patterned paper: DCWV The Playtime Stack, DCWV The Sweet Matstack
Photos: three photos (3.5 x 5 inch)
Die cuts: two apple die cuts, three bigger and two smaller circles
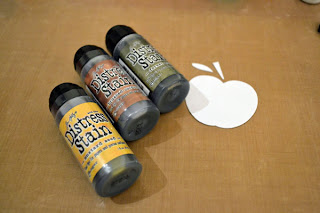
Inks: Mustard Seed, Brushed Corduroy and Forest Most Distress Stains
Other: Martha Stewart paper tape, Uniball Signo white gel pen, Ranger While Enamel
Tools: ruler
Tutorial :
Step 1:
Prepare your photos and mat them on the trimmed patterned papers.
Step 2:
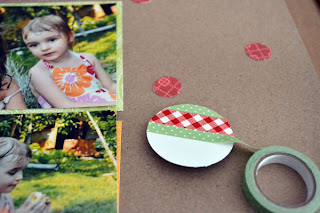
Using the paper tape decorate the white circles.
Step 3 and 4:
Colour the white apple die cuts with the Distress Stains.
Step 5:
Assemble your layout and add the embellishments. Outline the photos and draw lines for your journaling with the white gel pen.
Step 6:
Outline the apples and use some Glossy Accents on the small circles.
Step 7:
Add dots to the patterned paper with the White Enamel.
Step 8:
Add your journaling.
Enjoy!!
We hope you got some nifty tips and techniques in this tutorial to use on your own layouts. Till next time!!


